Part 2 - Building the agent

In my last blog post I demonstrated how to connect to some of the MCP Servers that are part of the tooling servers in Agent 365. We used the tools MCP Inspector and Postman to accomplish this. In this blog post the goal is to use these MCP Servers in Microsoft Agent Framework, and present the resulting agent in a custom UI that uses CopilotKit and the Agent-User Interaction Protocol (AG-UI).
Creating the agent backend
We start by creating a web app that exposes an AG-UI endpoint, and that implements an agent using Microsoft Agent Framework. The code for the backend can be found in this repo. To wire up the AG-UI middleware, we follow the instructions here in the docs. There is also some sample code in the Microsoft Agent Framework repo.
To implement the authorization flow with the MCP Servers, I took inspiration from the Protected MCP Client sample code in the C# MCP SDK repo.
using ModelContextProtocol.Client;
using OpenAI;
using Microsoft.Agents.AI;
...
using Microsoft.Agents.AI.Hosting.AGUI.AspNetCore;

// Two HttpClient configurations are needed because different MCP servers have different requirements:
// - Most MCP servers (Agent365) work fine with standard HTTP chunked transfer encoding
// - Some servers do NOT support chunked encoding and require Content-Length header
using var httpClient = new HttpClient();
using var httpClientWithContentLength = new HttpClient(new ContentLengthEnforcingHandler());
We then add the plumbing for handling the OAuth2 flow. We implement a special authentication handler - OAuthAuthorizationHandler - for this purpose, that among other things opens up a browser so that the user can authenticate and consent to the scopes that are required to access the servers.
In this particular example, we set up the authorization logic to be able to access the Agent 365 MCP Management MCP Server. See the last blog post for details on how to set up the prerequisites (App Registration, API permissions, etc) in Entra ID. In the last blog post we used Authorization Code Flow with PKCE, this time we use Authorization Code Flow - so a Client Secret is also required here. In the repo there are also examples on how to connect to the Word, Teams and Dataverse MCP Servers.
// Create OAuth handler with semaphore to serialize auth flows (they share the same redirect port)
var oauthHandler = new OAuthAuthorizationHandler();

// Create SSE client transport for the MCP server
var managementMcpServerUrl = $"https://agent365.svc.cloud.microsoft/mcp/environments/{dataverseEnvironmentId}/servers/MCPManagement";
var managementMcpTransport = new HttpClientTransport(new()
{
    Endpoint = new Uri(managementMcpServerUrl),
    Name = "Agent365 Management Client",
    OAuth = new()
    {
        ClientId = clientId,
        ClientSecret = clientSecret,
        Scopes = ["ea9ffc3e-8a23-4a7d-836d-234d7c7565c1/McpServers.Management.All", "offline_access", "openid", "profile"],
        RedirectUri = new Uri("http://localhost:1179/callback"),
        AuthorizationRedirectDelegate = oauthHandler.HandleAuthorizationUrlAsync,
    }
}, httpClientWithContentLength, consoleLoggerFactory);
We connect to the MCP Server and enumerate the available tools, so we can add them to the agent that we create in the next step.
await using var managementMcpClient = await McpClient.CreateAsync(managementMcpTransport, loggerFactory: consoleLoggerFactory);
Then, we create the agent and supply the tools and map the AG-UI endpoint that can be used by our frontend UI.
AIAgent agent = new OpenAIClient(openAiApiKey)
    .GetChatClient("gpt-5.1")
    .CreateAIAgent(instructions: "You are a helpful agent that allows the user to perform management tasks in Agent 365 and call Agent 365 MCP Servers.", tools: [.. managementTools]);

app.MapAGUI("/", agent);

app.Run();
However, if we run this - it fails! The reason for the failure is that Entra ID - which is securing the MCP Server - does not accept the resource parameter that is sent by the C# Model Context Protocol SDK in the OAuth2 flow. This particular problem is discussed in various places:
- This issue discusses this issue in detail.
- Here is a pull request that claims to fix the issue.
The C# MCP SDK actually follows the MCP specification, which mandates that the resource parameter should be passed when authorizing. But Entra doesn’t accept the parameter…
Actually, there is a proposal to make this parameter optional and not mandatory for MCP Clients. But rather than waiting for the MCP spec to change, and in the interest of finishing the demo, I simply forked the C# MCP SDK and did this change that simply removes the resource parameter:
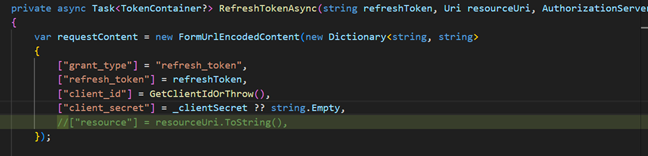
With this fixed, the backend is working and we can move on to implementing the frontend using CopilotKit.
Creating the frontend
As mentioned above we use CopilotKit to create the frontend, a framework that can use the AG-UI protocol to talk to our backend. AG-UI greatly simplifies the process of building UIs for agents, by automatically handling e.g. streaming, state management and tool calling - and it is integrated into CopilotKit. CopilotKit has lots of hooks that can be used to do all kinds of cool stuff:
- Render custom UI when LLM tool calls happen.
- Define front end tools - tools that are implemented in React and that allow the LLM to execute code on the frontend.
- Handling human in the loop scenarios.
The frontend is based on the quickstart code for the CopilotKit/AG-UI integration with Microsoft Agent Framework, and can be found in this repo.
CopilotKit makes it easy to render tool call progress and result as custom React components. For example, this code implements a default tool calling GUI that handles all tool calls for our agent:
useDefaultTool({
  render: ({ name, args, status, result }) => {
    const isComplete = status === "complete";
    const isRunning = status === "inProgress" || status === "executing";

    return (
      <div className="my-3 rounded-xl overflow-hidden shadow-lg bg-gradient-to-br from-slate-900 to-slate-800 border border-slate-700">
        <div className="px-4 py-3 bg-gradient-to-r from-indigo-600 to-purple-600 flex items-center justify-between">
          ...
            {isRunning && "Running..."}
            {isComplete && "Complete"}
          </span>
        </div>

        ...

          {isComplete && result && (
            <div>
              <p className="text-xs font-semibold text-emerald-400 uppercase tracking-wider mb-2">Result</p>
              <pre className="text-sm text-slate-200 bg-slate-950/50 p-3 rounded-lg border border-slate-700 overflow-x-auto max-h-64 overflow-y-auto">
                {JSON.stringify(result, null, 2)}
              </pre>
            </div>
          )}
        </div>
      </div>
    );
  },
});
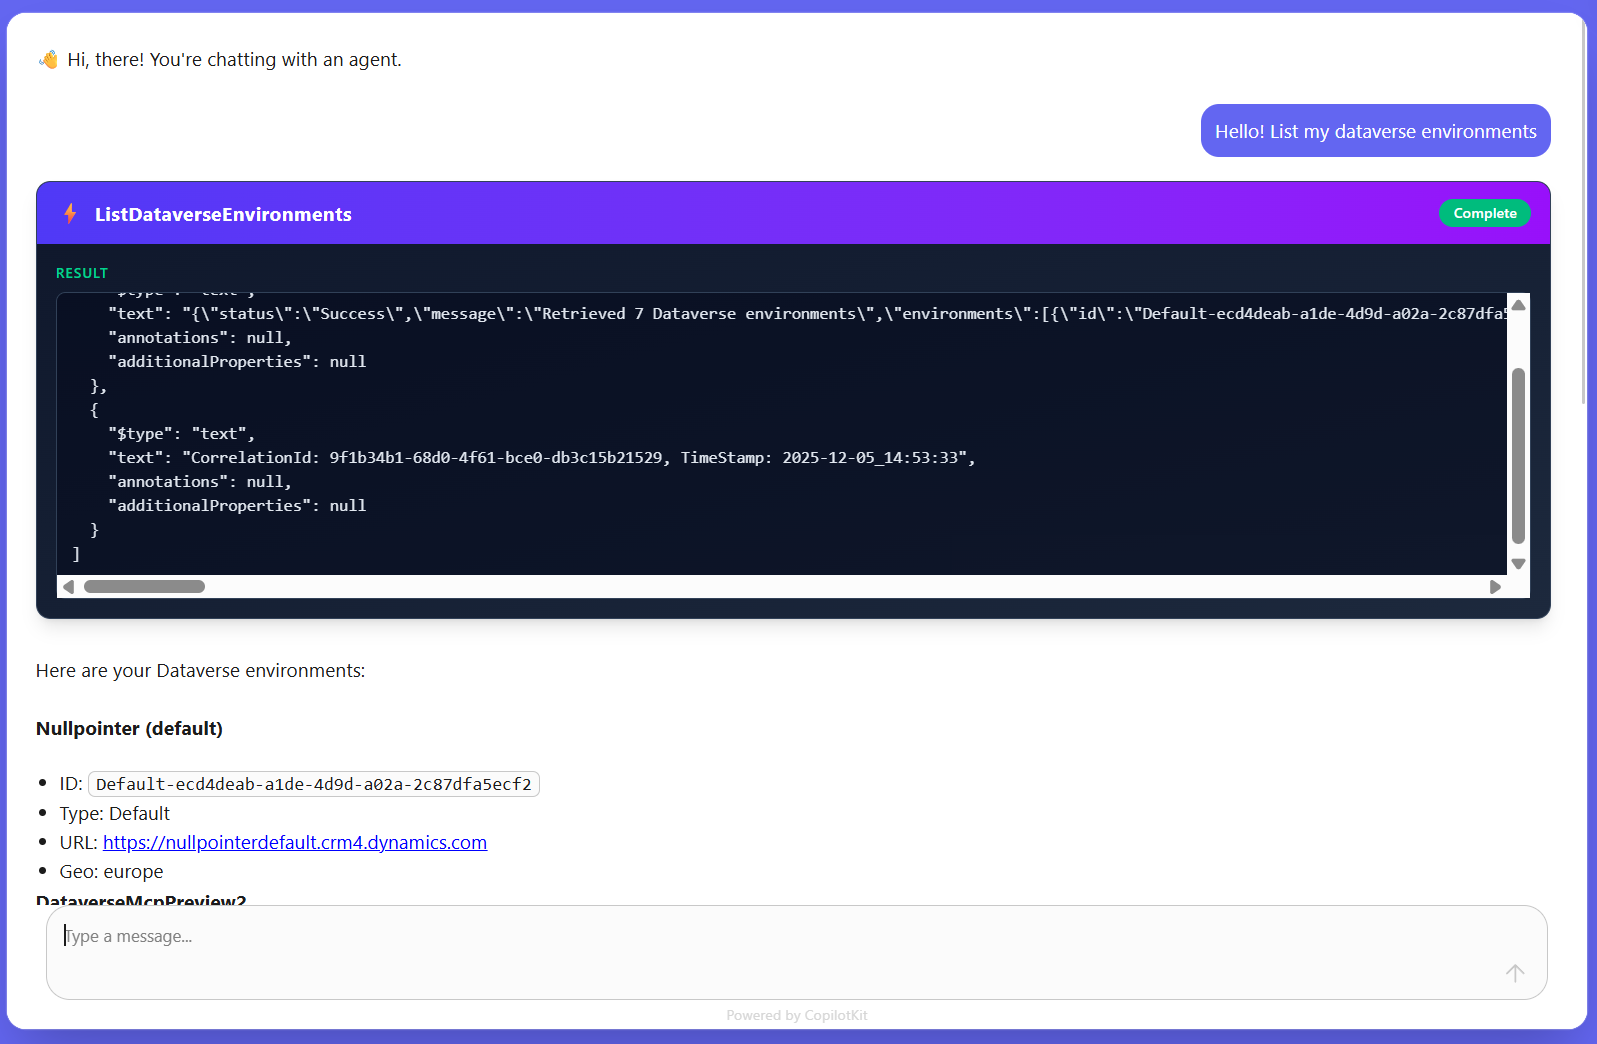
If the LLM calls one of the tools in the MCP Management MCP Server, it renders a custom UI:
As mentioned above, CopilotKit also has built-in support for handling “human in the loop” flows:
  useHumanInTheLoop(
    {
      name: "go_to_moon",
      description: "Go to the moon on request.",
      render: ({ respond, status }) => {
        return (
          <MoonCard themeColor={themeColor} status={status} respond={respond} />
        );
      },
    },
    [themeColor],
  );
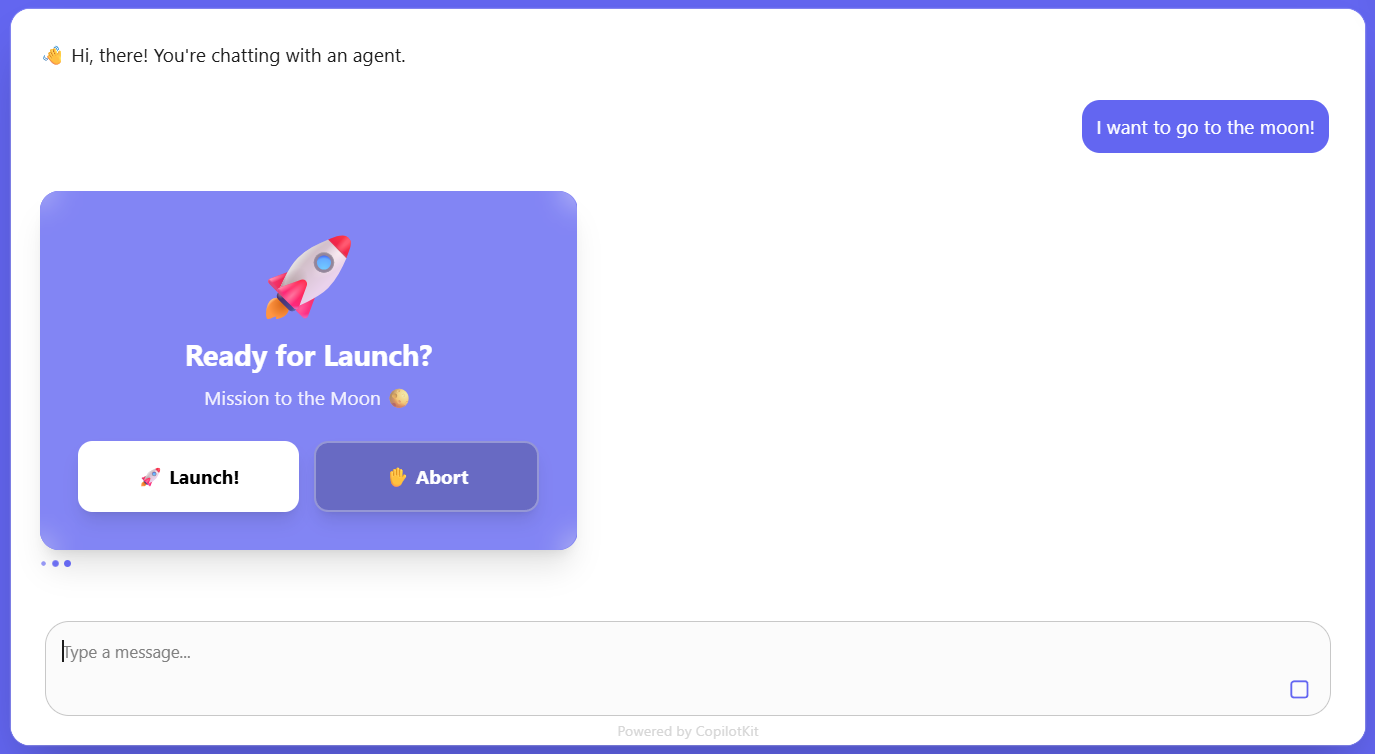
When we tell the agent that we want to go to the moon, the custom UI is rendered:
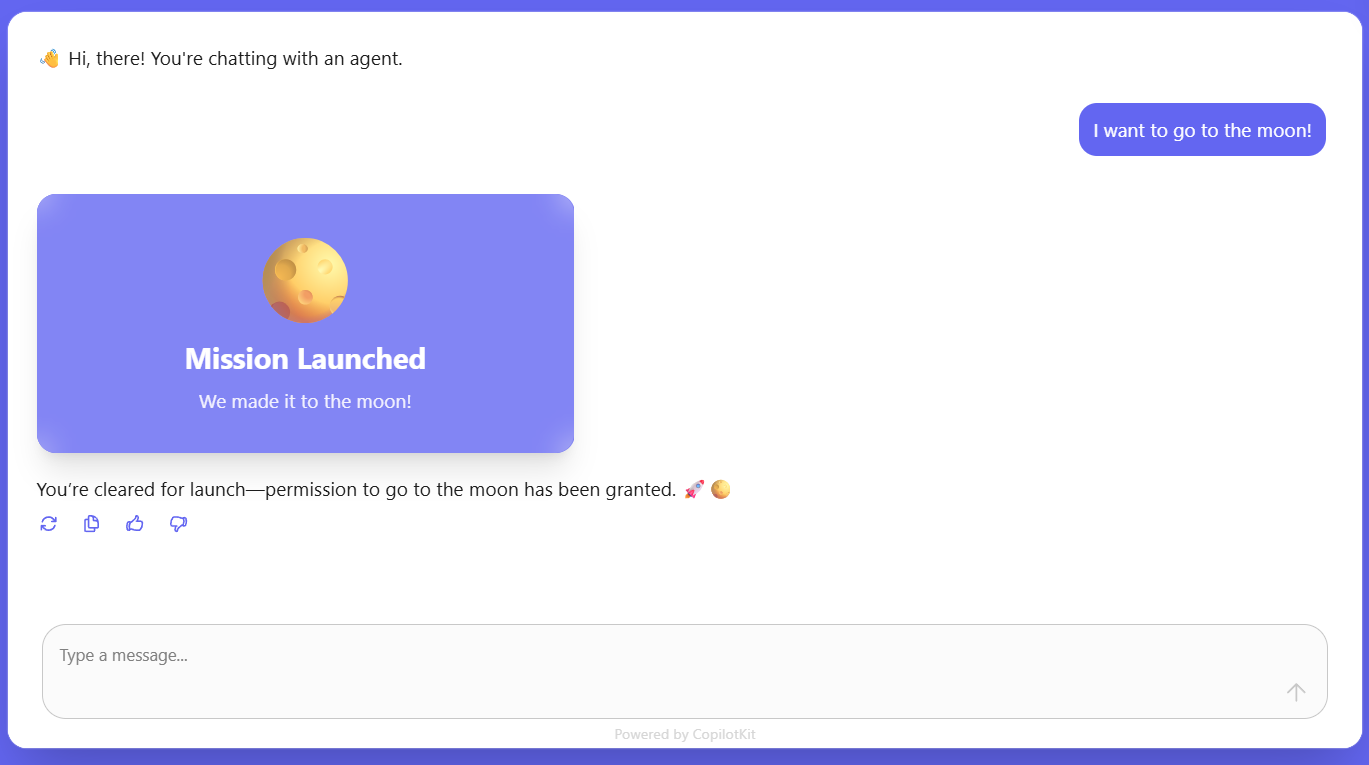
And when the button is clicked:
This is a video of the finished agent, that is accessing different Agent 365 MCP Servers:
This was a fun experiment, and I look forward to exploring the Agent 365 MCP Servers further. For more information, check out the CopilotKit docs and read the AG-UI specification.
Until next time, happy hacking!